Solar / Batteries for our Expedition Vehicle!
We get the question a lot about how should we set up the solar / battery system in our expedition vehicle?
Sadly the answer is not an easy one. We have been using our new solar / battery setup now for 4 months and can only answer the question of what suited us.
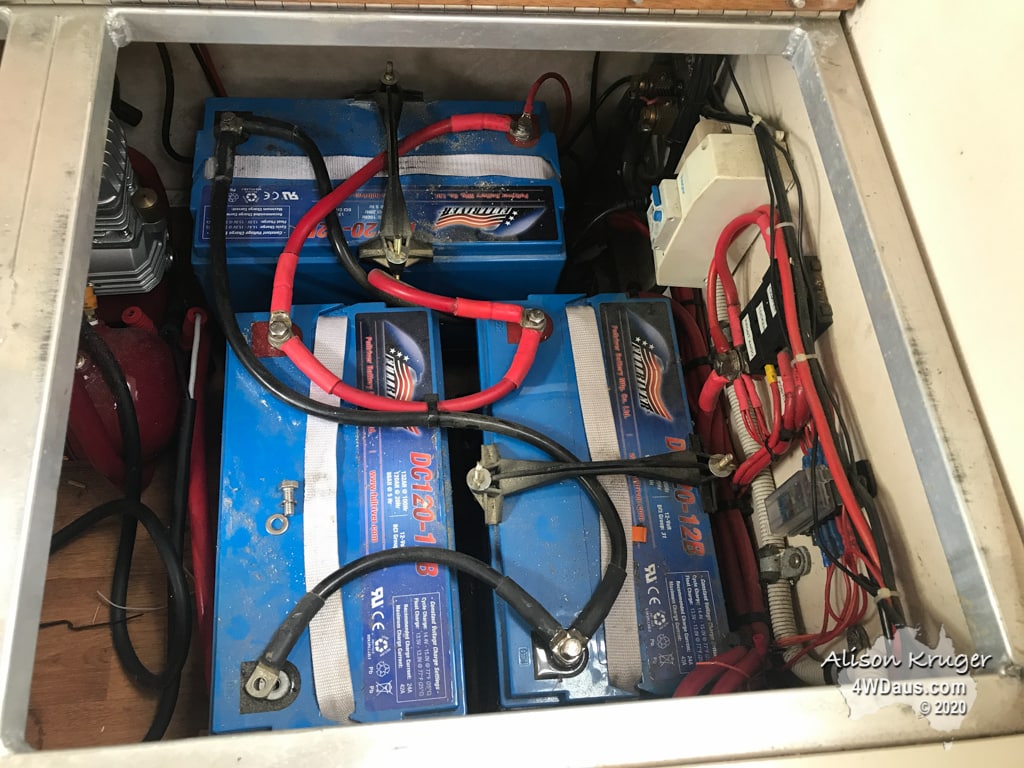
What we started with.
Our expedition vehicle had a set of 3 x 120ah quality AGM batteries, FullRiver brand. Although we still had confidence in these batteries as they had never been discharged by more than 15% regularly, we didn’t want to risk a failure in a remote location.
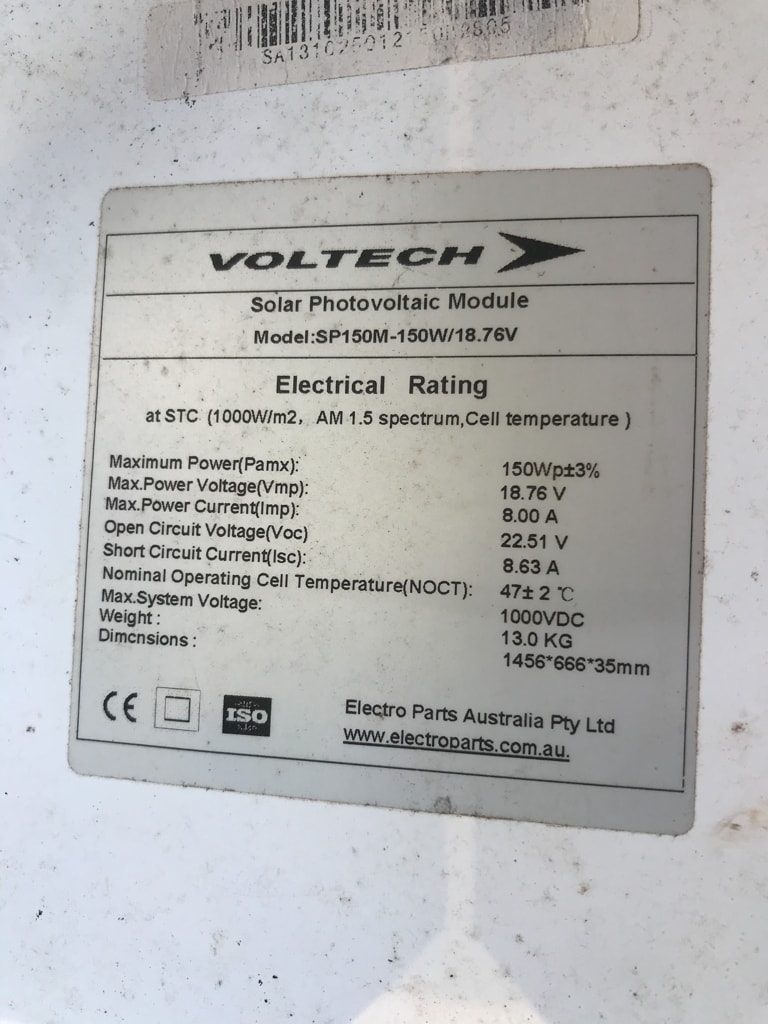
On our roof, we had a 200w and 150w panel. These panels were a high-quality brand and provided good watts/roof space they occupy.
To charge the system, the vehicle alternator was connected to the camper system via BEP battery isolators.
To power our limited 240v electrical items we utilised an 800w inverter. Although this was quite small, it served us well. All other power used in the vehicle is consumed at 12v.
List of what items were using the power:
- Fridge – 130l – probably what uses most of our power
- TV and Media player
- LED lighting, interior and exterior
- Fans
- Air pump for tyres
- Laptops, cameras, iPhones and iPads and other miscellaneous items.
- Miss-matched Panels
So what did we do?
Well, the obvious solution was lithium batteries – but the more we looked into these solutions, the more confusing it became. There are retailers out there that claim their batteries can simply replace your AGMs and everything else can remain the same, while others suggested we change the operation of our system to 24v or 48v. Another complication is that some lithium batteries have internal BMS systems that will not supply enough power to some of the larger inverters. So yes, the whole process was one of education.
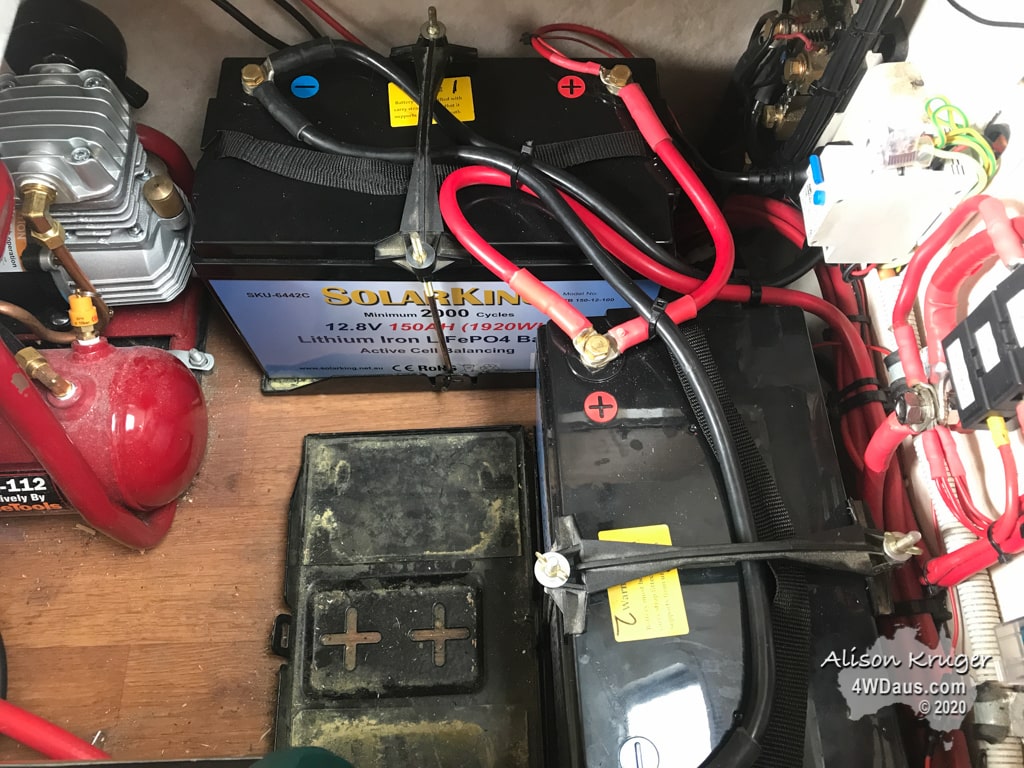
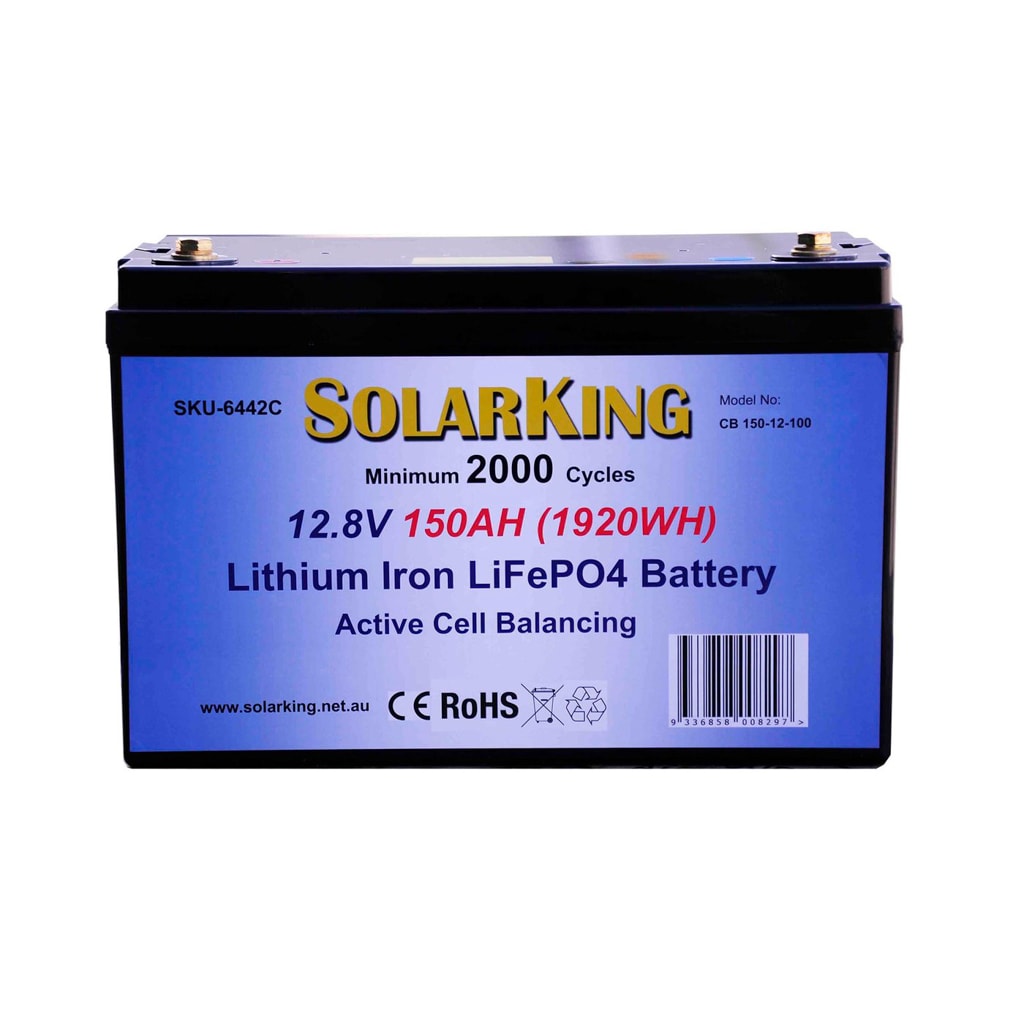
Eventually, we decided to maintain the 12v base for our system and to put in 2 x 150ah lithium batteries. If we had been rewiring the truck we possibly would have gone for a 24v system as this can use thinner cabling. This then gave us a base on which to build the rest of the system.
There is no use in having all this lithium power if you can not charge the batteries back to full regularly.
How to Charge 300ah Lithium System?
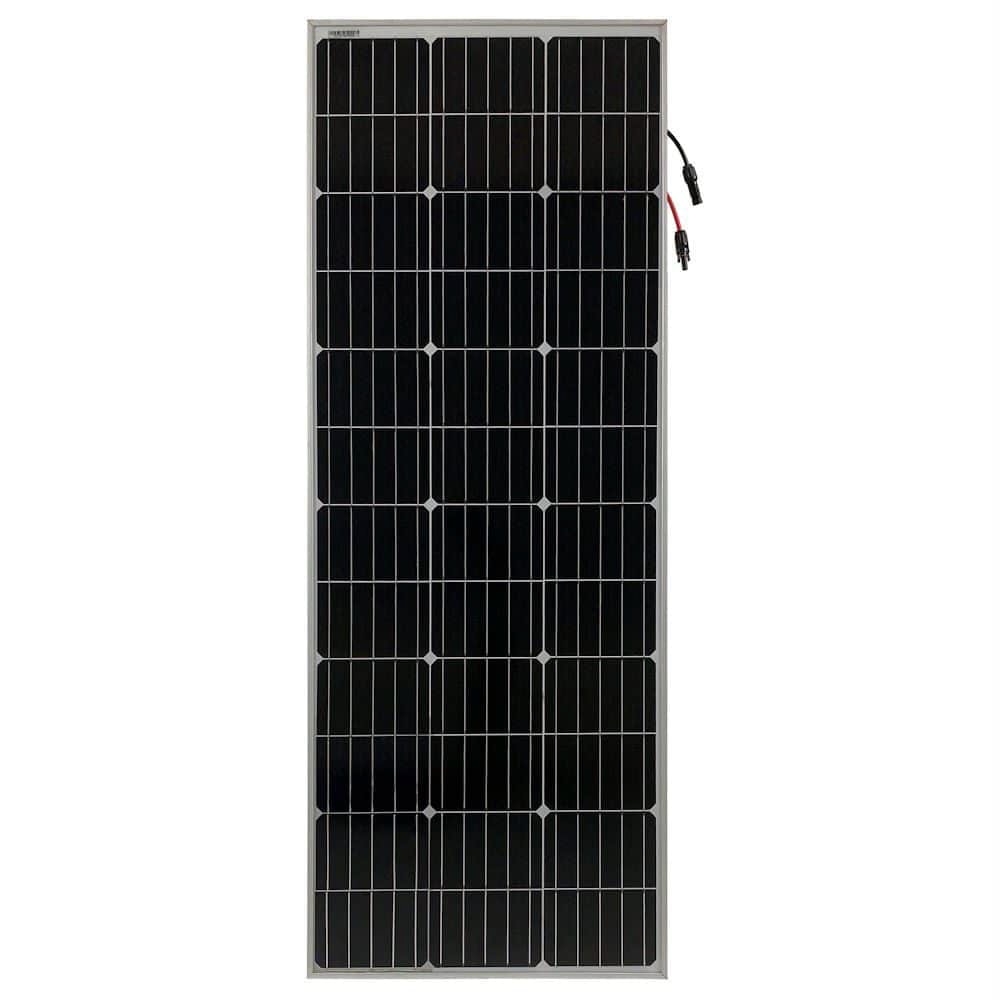
We have always installed quality products on our expedition vehicle so we were happy to find out our 2 existing solar panels were still a good solution. If we had replaced these panels with more up to date panels we might gain an extra 70w. So at this point, we left them in place. We were very happy to discover a new solar panel size (130w) that would fit neatly beside the air conditioner on the rear roof area of the vehicle. Curtech 130w sized panels (505mm wide x 1325mm long x 35mm frame) were chosen for the job.
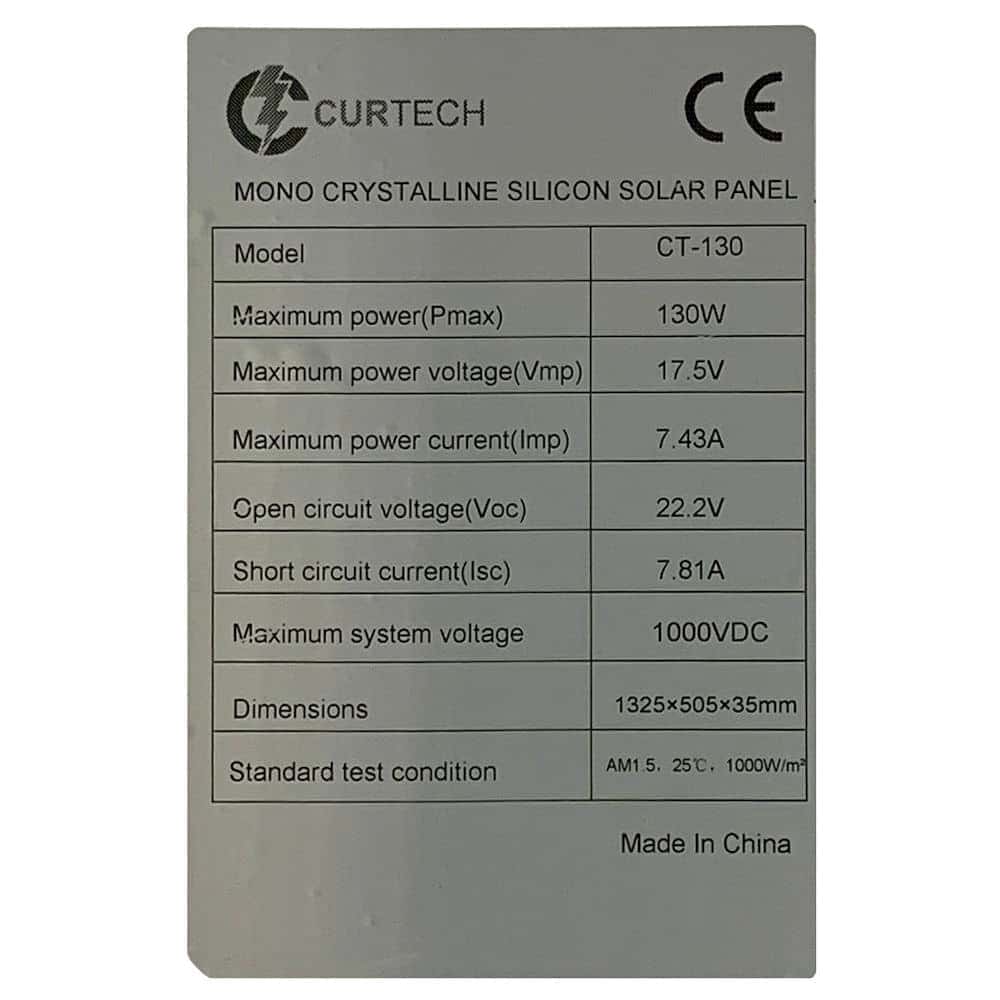
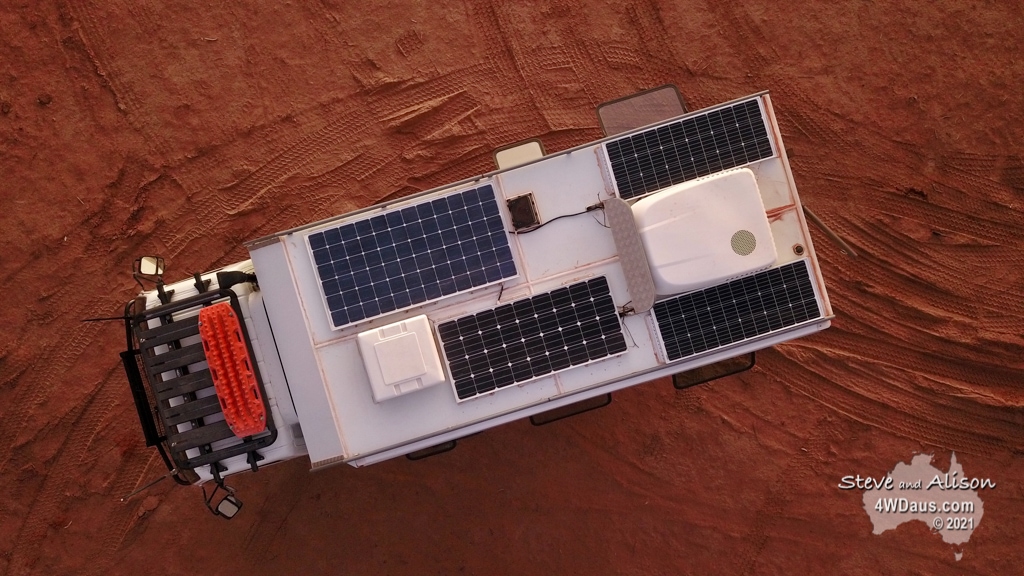
We were able to fit 1 panel on each side that fitted our vehicle’s roof. For those who know AMESZ expedition vehicles, some were manufactured as skinny hexagon shapes to allow them better access to closed in tracks. This reduces their roof area a little, unlike the new rectangle-shaped SLRVs. This brought out panel capacity to 610w. This in theory is a little over 45amp (calc as 610w / 14v)
One of the frustrating things about 610w of solar panels is in a real-world situation, how much do they deliver? The answer lies nowhere near 45amps (610 / 14v)! So why?
Well, there are many reasons including and most importantly, the angle of the sun on the panel. Other reasons include:
- How hot the panels are
- Is any part of the panel in the shade
- How cloudy or sunny it is
- As with the angle of the sun, also the time of year makes an enormous difference in panel efficiency. Winter the sun is just not shining on you for as many hours in a day as summer. Additionally, where the vehicle affects the angle, the further north you are the higher in the sky the sun is. So Tasmania will never charge as well as Darwin.
- The type of solar controller used
- Cable size used in the installation
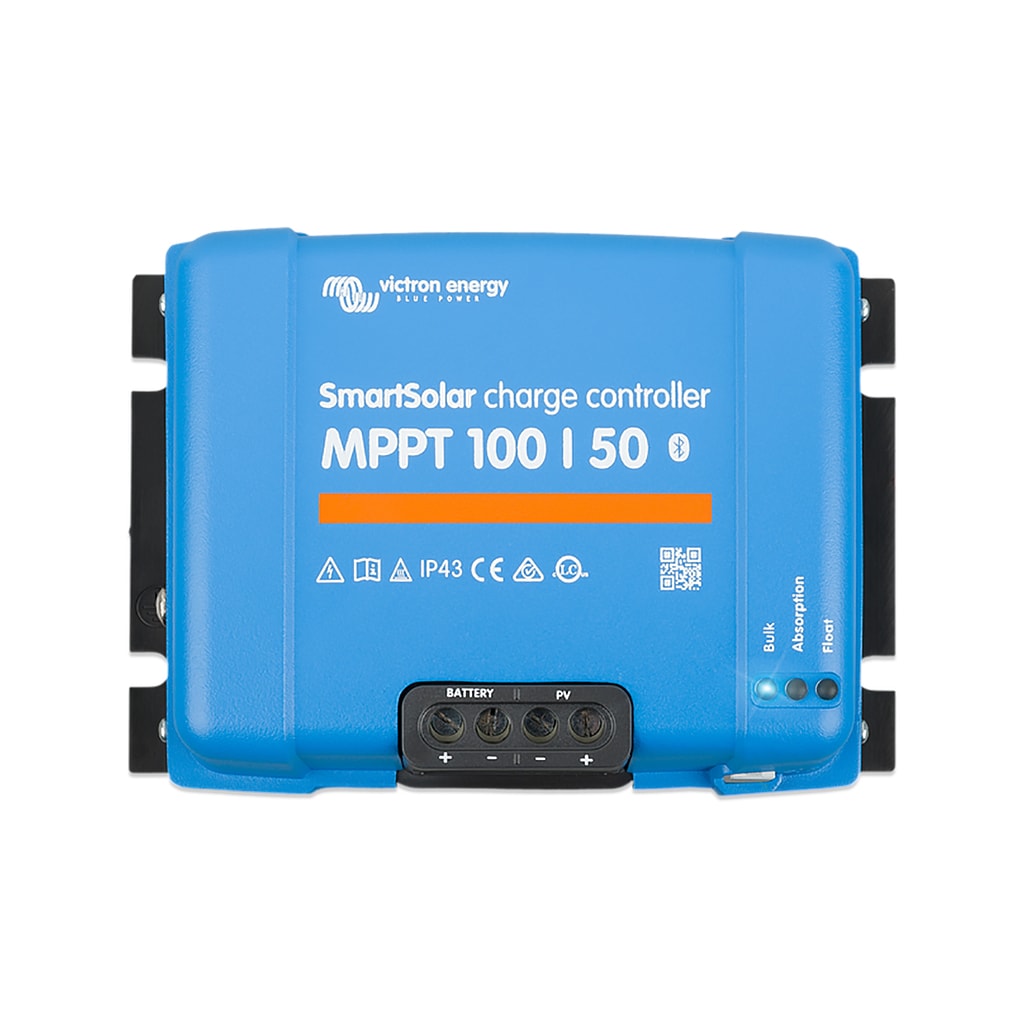
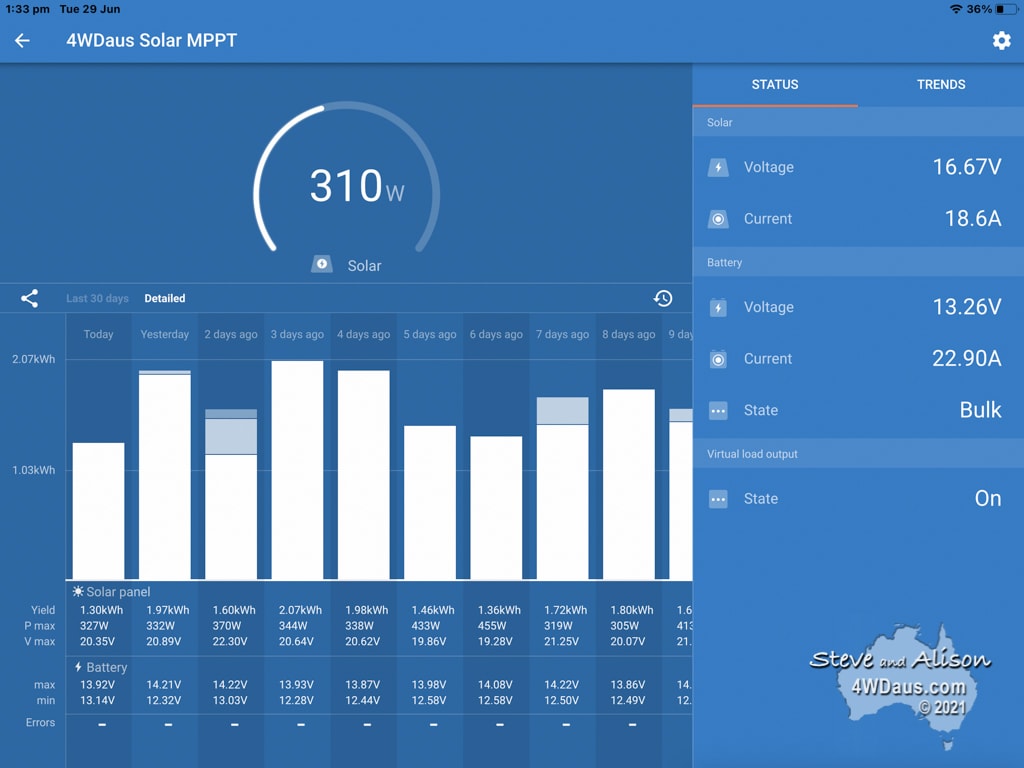
So to get the best from our panels we use a Victron 100/50* MPPT solar charge controller with inbuilt Bluetooth.
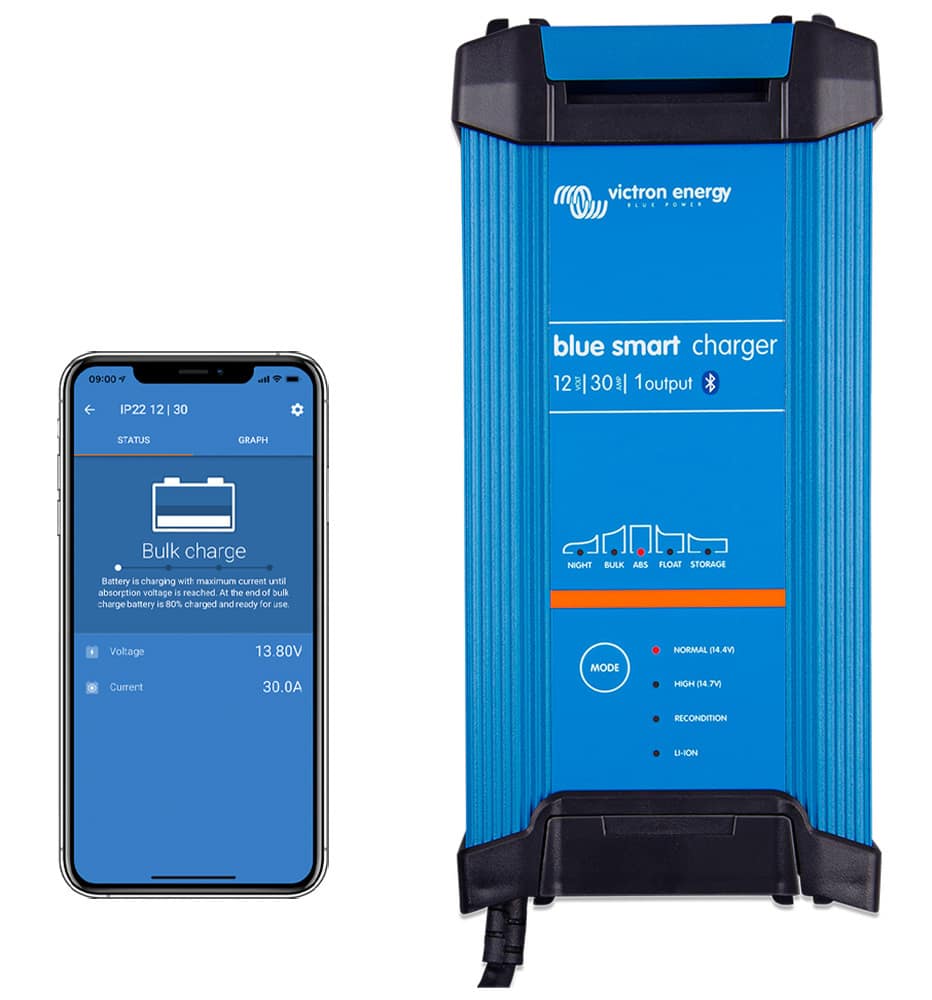
As our solar panels will not fully charge our system every day, we also wanted a couple of different ways to supplement this. To this end, we install a Victron 30amp lithium battery charger and a Victron 30amp DC-DC charger.
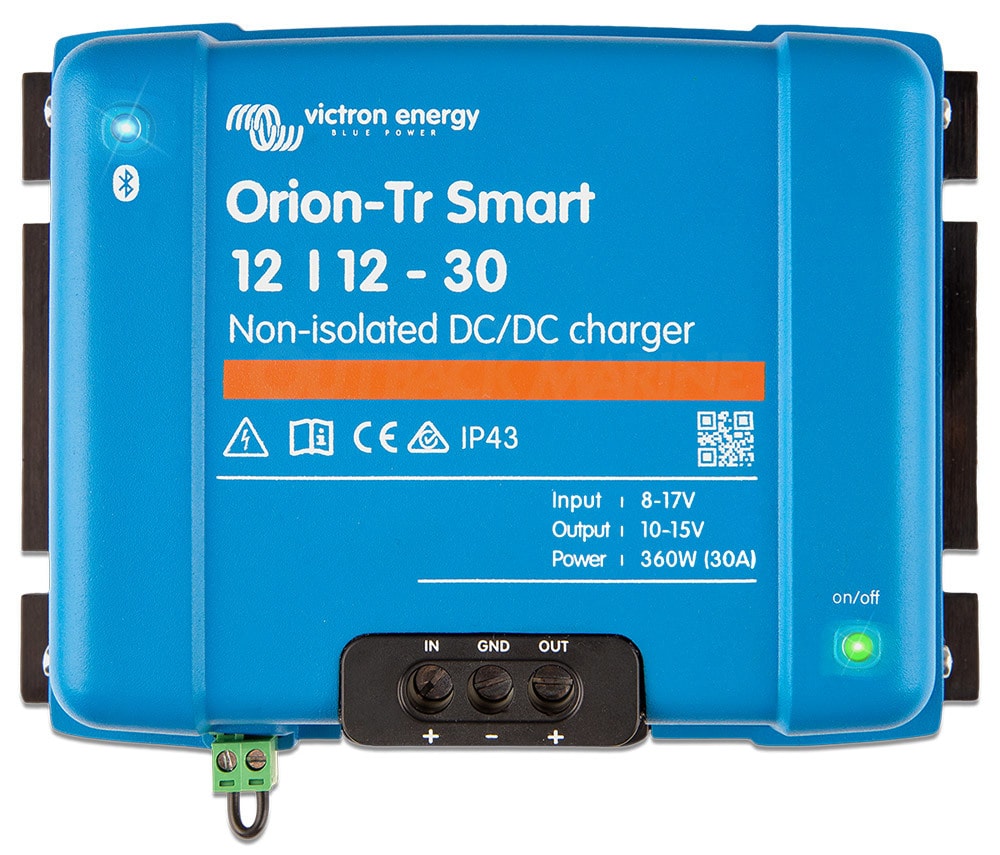
So why was the Victron 30amp DC-DC charger necessary?
Simply put, lead-acid batteries and lithium batteries do not play well together when charged by the same alternator. Eventually, they will damage something whether that’s one of the batteries or even the alternator. So when our BEP system was removed, the Victron 30amp DC-DC was put in its place. Something we also found is that in our truck, the load on the alternator can affect how well we drive up some hills, so we had a dash located override switch. Additionally, we have found on sunny Autumn through Spring months the solar panels have sufficient output to fully charge the lithium battery system.
The other method of charging our batteries is using the Victron 30amp lithium battery charger, This can be used via any powered site we may be staying in or via generator as needed. A 2kw generator can charge the batteries and also the 240v hot water system at the same time. Additionally, the generator can run the rooftop air conditioner if it’s really hot.
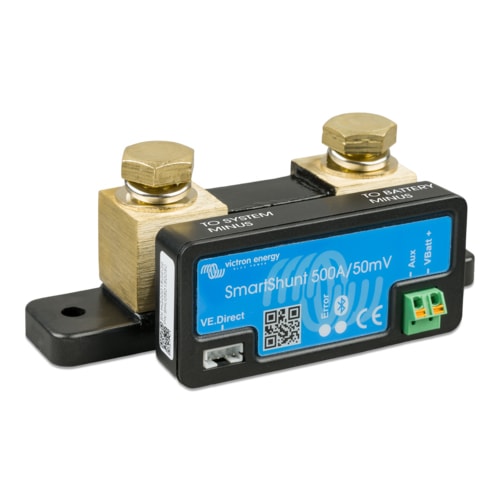
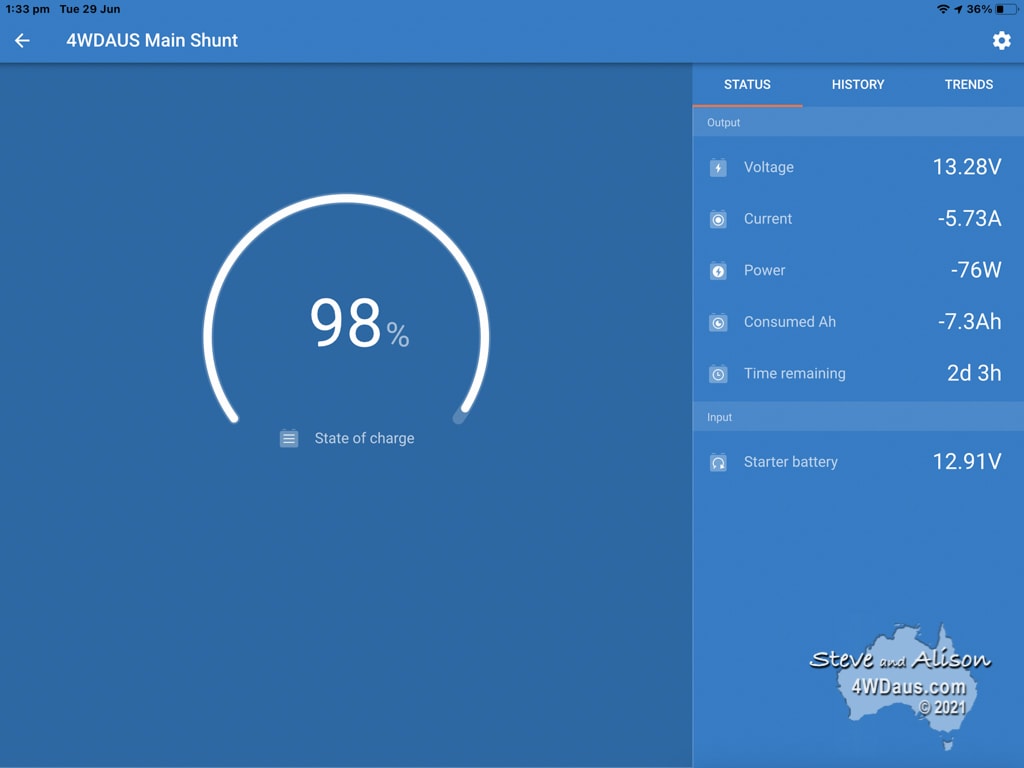
How to Keep Tabs on Everything?
One of the other nice items installed was the Victron 500A/50mV Shunt. This means we can now monitor via iPad or iPhone (or even laptop) most aspects of the system from how charged we are to how much sun we are harvesting. It is a nice piece of hardware.
What Additional 240v electrical do we run since the Upgrade?
We installed a 2,000w inverter by Enerdrive as part of the upgrade. This was to power some additional 240v appliances to what we originally used in the vehicle. These are
- Coffee Machine (POD) – Probably the most important!
- 1,700w Kettle
- TV and Media player
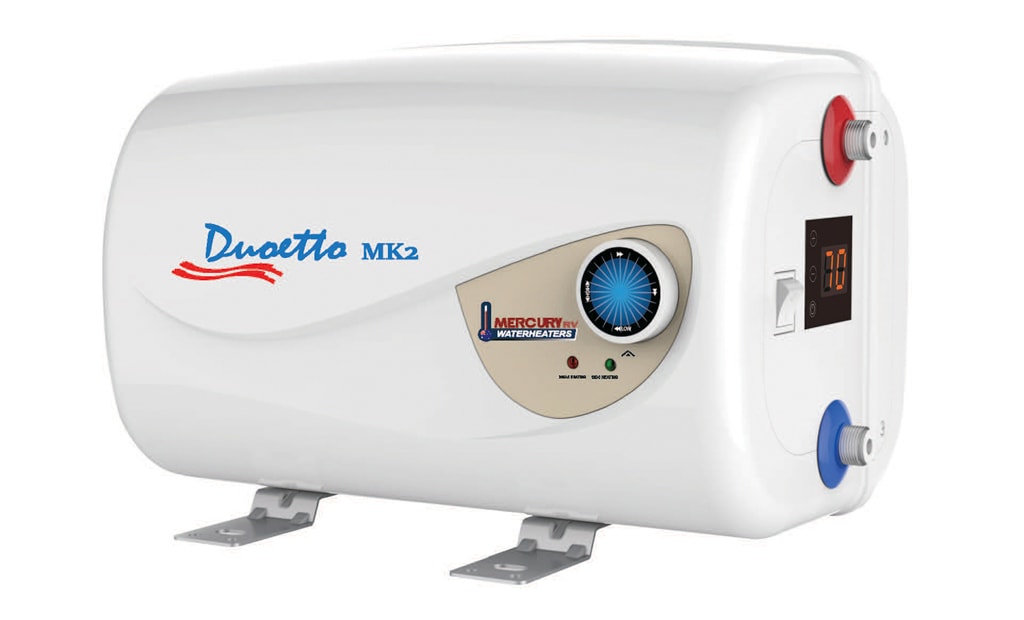
- 12v / 240v 10l hot water system
- Occasional the wife’s hair dryer
Did You Say a 12v / 240v 10l hot water system?
Yes – originally the vehicle included a gas 16l Suburban Hot Water System. This system takes up to an hour to reach hot water and is seriously consumed along with gas. No, we don’t heat the hot water every day, but if the batteries are fully charged by about 1 pm, we switch it on. It then utilises the solar power that would have gone to waste as the system was fully charged. It has been a great addition.
Anything Else of Interest in the Project?
The battery change over certainly lightened the load. The AGM battery’s weight (3x43kg) is 129kg. The 2 new Solar King Batteries came in at (2x13kg) 26kg.
The system charges at approx a maximum of 40ah in summer and only 20ah in winter. The winter charging has been best in the outback where there seems to be fewer clouds and trees to contend with.
Airflow under solar panels on the roof changes how dust flows around the vehicle. We added airflow holes to the mounts to fix this issue, but it would have been easier to simply hold the panels on the vehicle’s left and right side instead of front and back.
In hindsight, if we were doing the project again, we would consider fitting a 3,000w inverter, a 3rd battery (450ah) and more solar panels. Additionally, we would have removed the gas from the vehicle totally and installed a 2000w induction cooktop and key start generator in the gas bottle storage area.
Summary of End of Build
- 2 x 12v Solar King Lithium Batteries with inbuilt BMS
- Victron 100/50* MPPT solar charge controller with inbuilt Bluetooth
- Victron 30amp DC-DC charger
- Victron 30amp lithium battery charger
- Victron 500A/50mV Shunt
- 2 x 130w Solar Panels